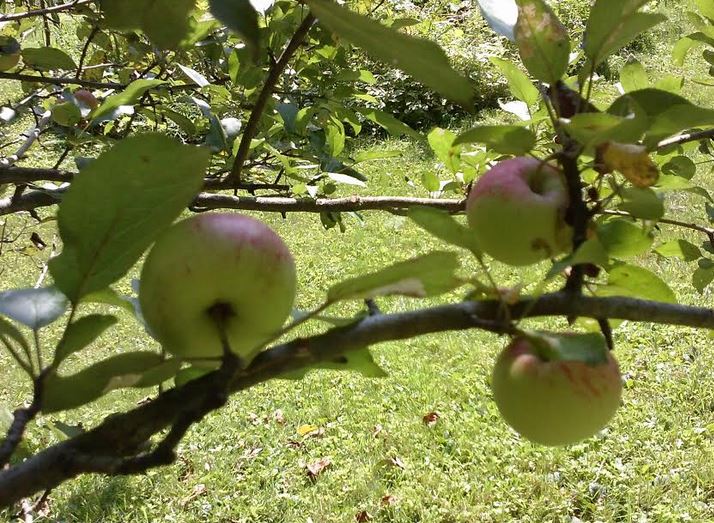
When we bought our place in March 2017, these trees were bare. We were told they were Black Walnuts, but frankly, didn't know much about them. As winter turned to spring, flowers and trees turned green all around the property...and the walnuts stayed bare. We began to wonder if they were dead. And then, after everything else had greened up, these guys came to life. By mid-summer, our favorite spot to relax and have a drink was at a small table under under these huge, graceful branches. And as we watched the nuts slowly form, we realized that on a homestead, "you play the hand you're dealt," and we figured we should investigate how to use these nuts to our advantage. And so, one of our many projects became learning (by doing) how to make Walnut Wood Stain from the nuts.
Stain is made from the green husks, a 1/4 inch "case" that forms over the nuts. The husks contain a substance called "juglone," which turns everything it touches (including your fingers) brown or black. It is also a natural herbicide, which explains why there is nothing growing near the walnuts trees except for grasses. We quickly discovered three rules:
Rule #1: Dont pick them off the tree. They're not ready or ripe. Wait until they fall.
Rule #2: The first couple of dozen to fall are also not ready...and by the time you get ready to process them, they will be huge fluffballs of mold. Here in Vermont, September was too early to gather these nuts; we've decided that next year we will hold off until October 1 to begin collecting them. Once collected, they produce less mold if kept in baskets or other 'breathable' containers.
Rule #3: Once you decide to collect them, it is a daily (actually, multiple times a day) race against the squirrels, who may actually sit in the tree and bombard you with nuts (Yes, I swear they did this to us). We ended up in an uneasy truce with them, always leaving them a few...but often racing them to the goodies when a strong wind sent the nuts raining down.
By the end of October, we had collected more than 500 nuts from two trees...and now the hard part began. The green husks had to be removed from the nuts. Many wen articles suggested rolling over them with the car, but I found it was fairly easy to simply use a sharp pocket knife, make one slice down a side, and twist. Eventually, I found that I usually didnt even need the knife, and got into a rhythm of twisting the green husks off.
A word of warning: I went through wearing many pairs of latex gloves, and my thumbs still ended up stained for two weeks (and my fingernails for even longer). There is no soap on earth that removes the stain, unless it removes your skin too.

They are MESSY, and they will stain everything they touch (except plastic), so take some time to decide how and where you are going to do this.
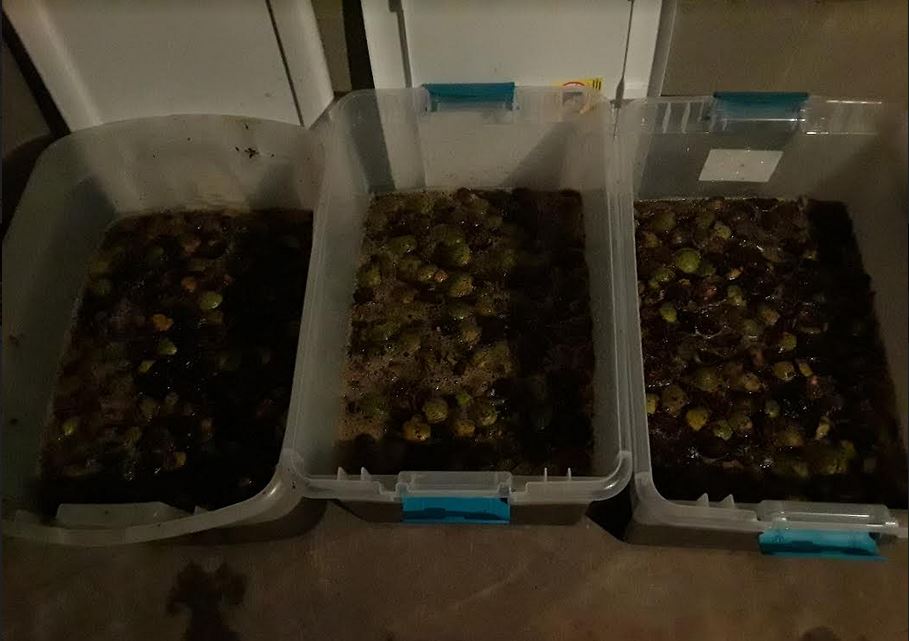
After removing all the husks, we soaked them in three different plastic bins with enough water to cover them. For two weeks they sat in that water, and every day I would tamp them down and swish them a bit. I don't know if this helped release more juglone into the water or not, but it made me feel accomplished, as if I was "doing something."
I had read that the presence of iron actually makes the resulting stain darker, which I figured could be accomplished by boiling them down (or soaking them) in a cast iron pot. Alas, we did not have such a pot (although I will be looking for one at garage sales in the spring!), but we had plenty of rusty nails we pulled from deck boards when we rebuilt our deck, so I threw two handfulls into one of the bins, just to see what the difference would be in the resulting stains.

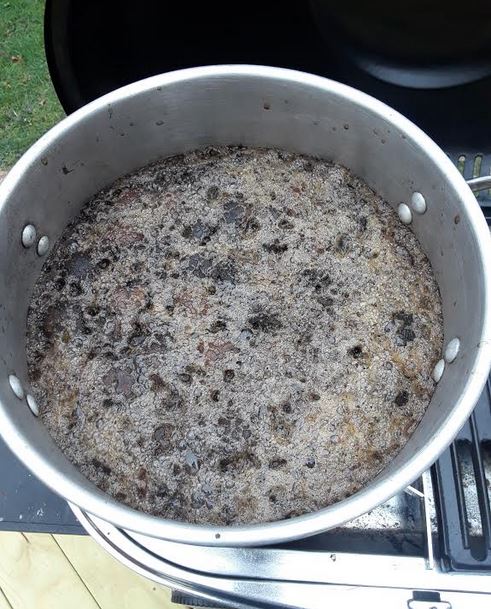
Now I will say at he outset that most internet "how-tos" tell you to do one of two things: either just soak them in water for two (or four) weeks, OR don't bother soaking them and just boil them down. We decided on a bit of both: we preferred the idea of just letting them soak in the water, but we are also well aware that this is no different than any fruit juice: it's a natural vegetable extract that will grow mold. So, not wanting to produce stain, applying it in our house, and then having to deal with mold, we decided to boil it all down to kill mold spores.. We also knew that by boiling it down to about 50% of the original liquid we started with, we would concentrate the stain. So, after about two weeks, we poured the water into an old pot and boiled it down on an outside grill.You don't want to do this on an interior stove: it smells a bit like tanning animal hides. We boiled the liquid only - not the actual husks - but the pot still ended up with a significant amount of "husk slurry" goop that rose to the top..

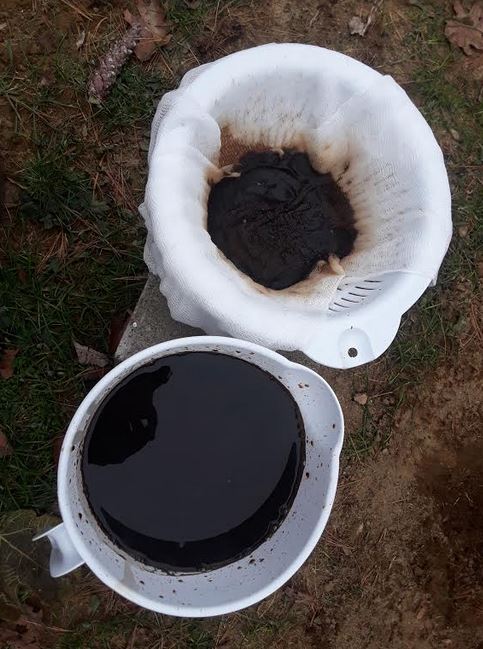
Once boiled down, we strained the resulting liquid from the boiling pot
into a colander lined with two layers of cheescloth, over a super-big (two quart?)
plastic measuring cup, which enabled us to then transfer it into jars. It took about a half a day to boil it all down, and I had to change the cheesecloth three times because the glop clogged it up.
The
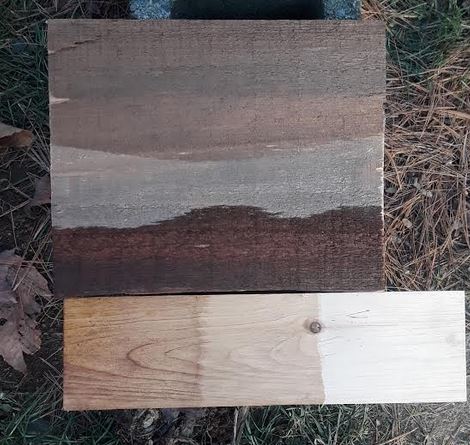
results? 36 Quarts of Walnut Stain from 500 nuts. The batch with the
iron definitely came out darker, as you can see on the weathered barnboard and
pine samples below. Each board has an untreated section, one section treated with non-iron-fortified stain, and one section with the rusty-nail concoction: